How to Install the Siberia Community Map on Your DayZ Dedicated Server
In this guide, we’ll walk you through the step-by-step process of installing the Siberia community map on your DayZ dedicated server. With our game panel, the installation is simple — you can install Siberia and start playing with just one click. Follow the instructions below for a smooth setup.
Our game panel will also install all required mods automatically and place the correct SpawnerBubaku and ActionTeleport spawn and teleport coordinates for you, so the map works correctly right from the start.
Introduction to the Siberia Map
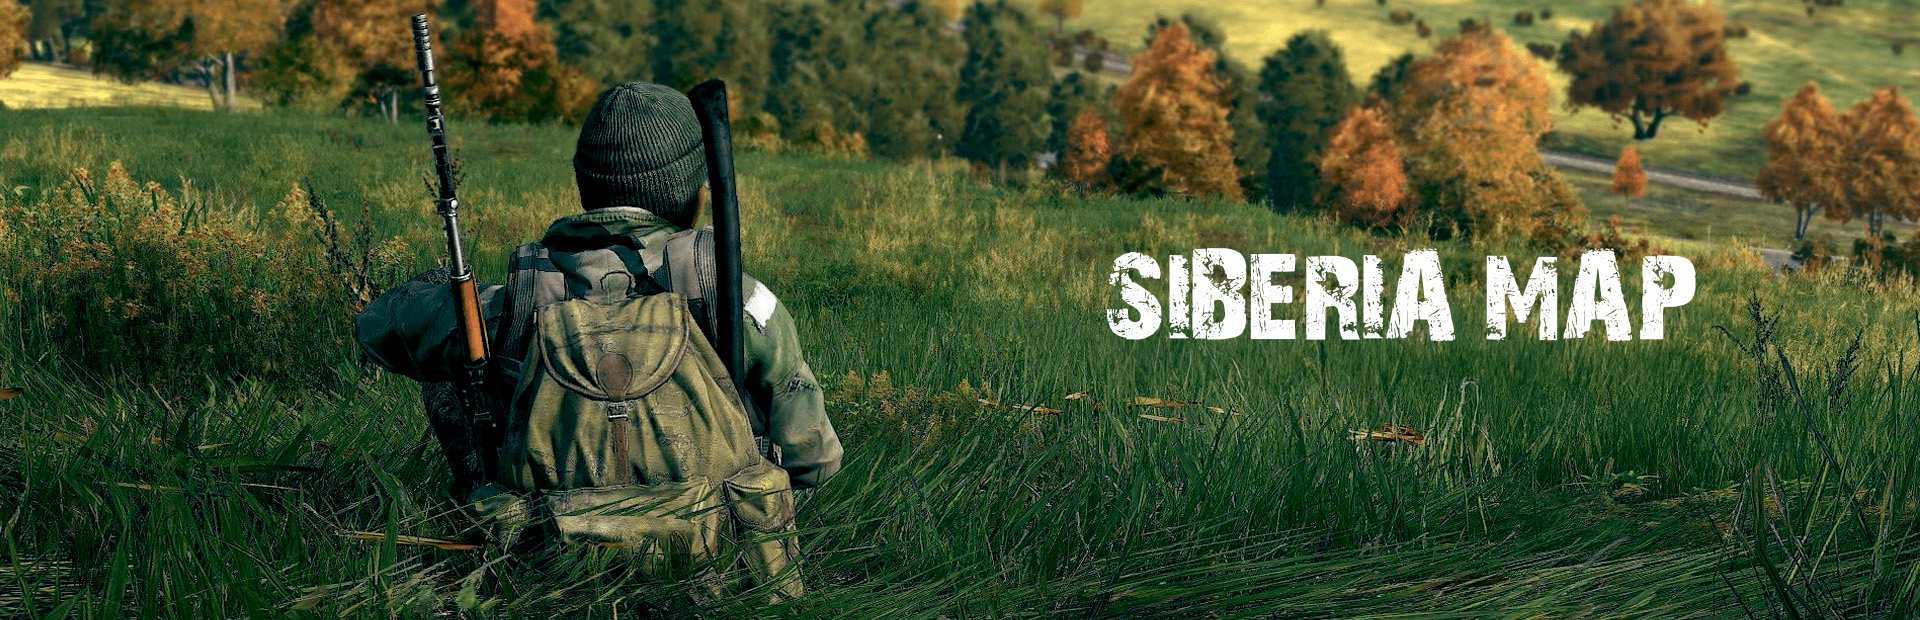
Siberia is a custom DayZ community map inspired by the Chelyabinsk region in Russia, located in the Southern Ural Mountains on the border between Europe and Asia. It features a cold winter environment and a map scale similar to Namalsk, offering a harsh and immersive survival experience.
To support full map functionality, the following mods are installed automatically along with the Siberia map:
- Namalsk Survival (optional)
- Chernobyl Zone Building
- Custom Keycards
- SFP
- SpawnerBubaku
- ActionTeleport
- CF
Follow the guide below to install Siberia on your dedicated DayZ game server.
Important Notes Before Installation
⚠️ To ensure a stable and hassle-free experience, keep these tips in mind:
- Namalsk Survival is optional. If you decide not to use it, uninstall the Namalsk Survival mod and apply the init file from your Chernarus mission to the Siberia mission.
- Install Siberia on a Vanilla server: Begin with a clean installation without any other mods to avoid conflicts. If possible, reinstall your server before adding Siberia to ensure a completely clean setup.
- Mod compatibility: Some Workshop mods may be incompatible with Siberia, which can cause server crashes or prevent the server from starting.
- Add mods gradually: After installing Siberia, add any extra mods one at a time, testing your server after each installation to quickly identify potential conflicts.
- DayZ updates warning: Be aware that DayZ updates may temporarily break the Siberia map until the map developer releases a compatible update.
How to Install the Siberia Map
- Stop your server.
- Go to the Mod Manager in your game panel.
- Locate Siberia in the Community Maps section.
- Click Install to add the Siberia map and required mods to your server.
- Start your server and allow a few minutes for it to fully initialize.
Important Notes for Updating
⚠️ How to Update the Siberia Map and mpmission on Your Server
- To update the Siberia Workshop map, update it like a regular Workshop mod using the Steam Workshop button in your game panel.
- To update the Siberia mpmission, go to the Mod Manager and press Update under the Siberia map; this will create an empty.siberia_UPDATED folder with the updated mpmission for you to later cherry-pick/merge
.xmlchanges if you have custom modifications.- The update will also copy persistence files into the empty.siberia_UPDATED folder. If you don’t have custom
.xmlmodifications, you can set this mpmission folder in yourConfig.cfgfile to automatically run the updated version.
Final Thoughts
By following this guide, you should now be able to successfully install and update the Siberia community map on your DayZ dedicated server.
ℹ️ If you encounter any issues or have questions during the process, don’t hesitate to contact our support system — we’re always here to help you resolve server-related problems.
❓ Need more help? Check out our other DayZ server guides for additional tips, setup instructions, and troubleshooting solutions to keep your server running smoothly!
Get Your DayZ Server Hosting Today!
✅ Ready to dive into the world of Siberia? Order Your DayZ Server Here and start your adventure today!


