How to Install Mods for an Ark Survival Evolved Server Using FTP
Setting up mods for your Ark: Survival Evolved server can be a simple and rewarding process. With a basic knowledge of FTP (File Transfer Protocol), you can easily enhance the gameplay experience. This guide will show you the necessary steps to install mods on your server using FTP, this guide is useful if you plan to host a server on your desktop, or have a dedicated server rented with a server company. If you already rent an ARK game server from a company this guide will not apply.
Prerequisites
Before you get started, you need:
- An Ark: Survival Evolved server: You should already have an Ark: Survival Evolved server. If not, there are numerous hosting providers online that you can choose from.
- FTP Client: You will need an FTP client. One of the most popular is FileZilla, which is free to use. Other options include WinSCP or Cyberduck.
- SteamCMD: SteamCMD is a command-line version of the Steam client, which will be needed to download the mods.
- Mod IDs: Each mod in the Steam workshop has a unique mod ID. You will need this ID to download the mods.
Installing Mods using FTP
Follow these steps to install mods on your Ark: Survival Evolved server:
1. Download Mods with SteamCMD
Firstly, you need to download the mods you want to use. To do this, you need to use SteamCMD.
- Download and install SteamCMD from the official Valve website.
- Create a new text document in your SteamCMD folder.
- Inside the text document, write the following commands:
login anonymous
force_install_dir ../arkse/mods/
app_update 376030 validate
quit
- Save the file with a .bat extension and then run it. The command
app_update 376030 validatewill download the mod with ID 376030 into the directory../arkse/mods/. - Once downloaded, you should see the mod in your Ark Survival Evolved directory.
2. Upload the Mods via FTP
Once the mods are downloaded onto your local machine, the next step is to upload them to your Ark: Survival Evolved server using FTP.
- Open your FTP client.
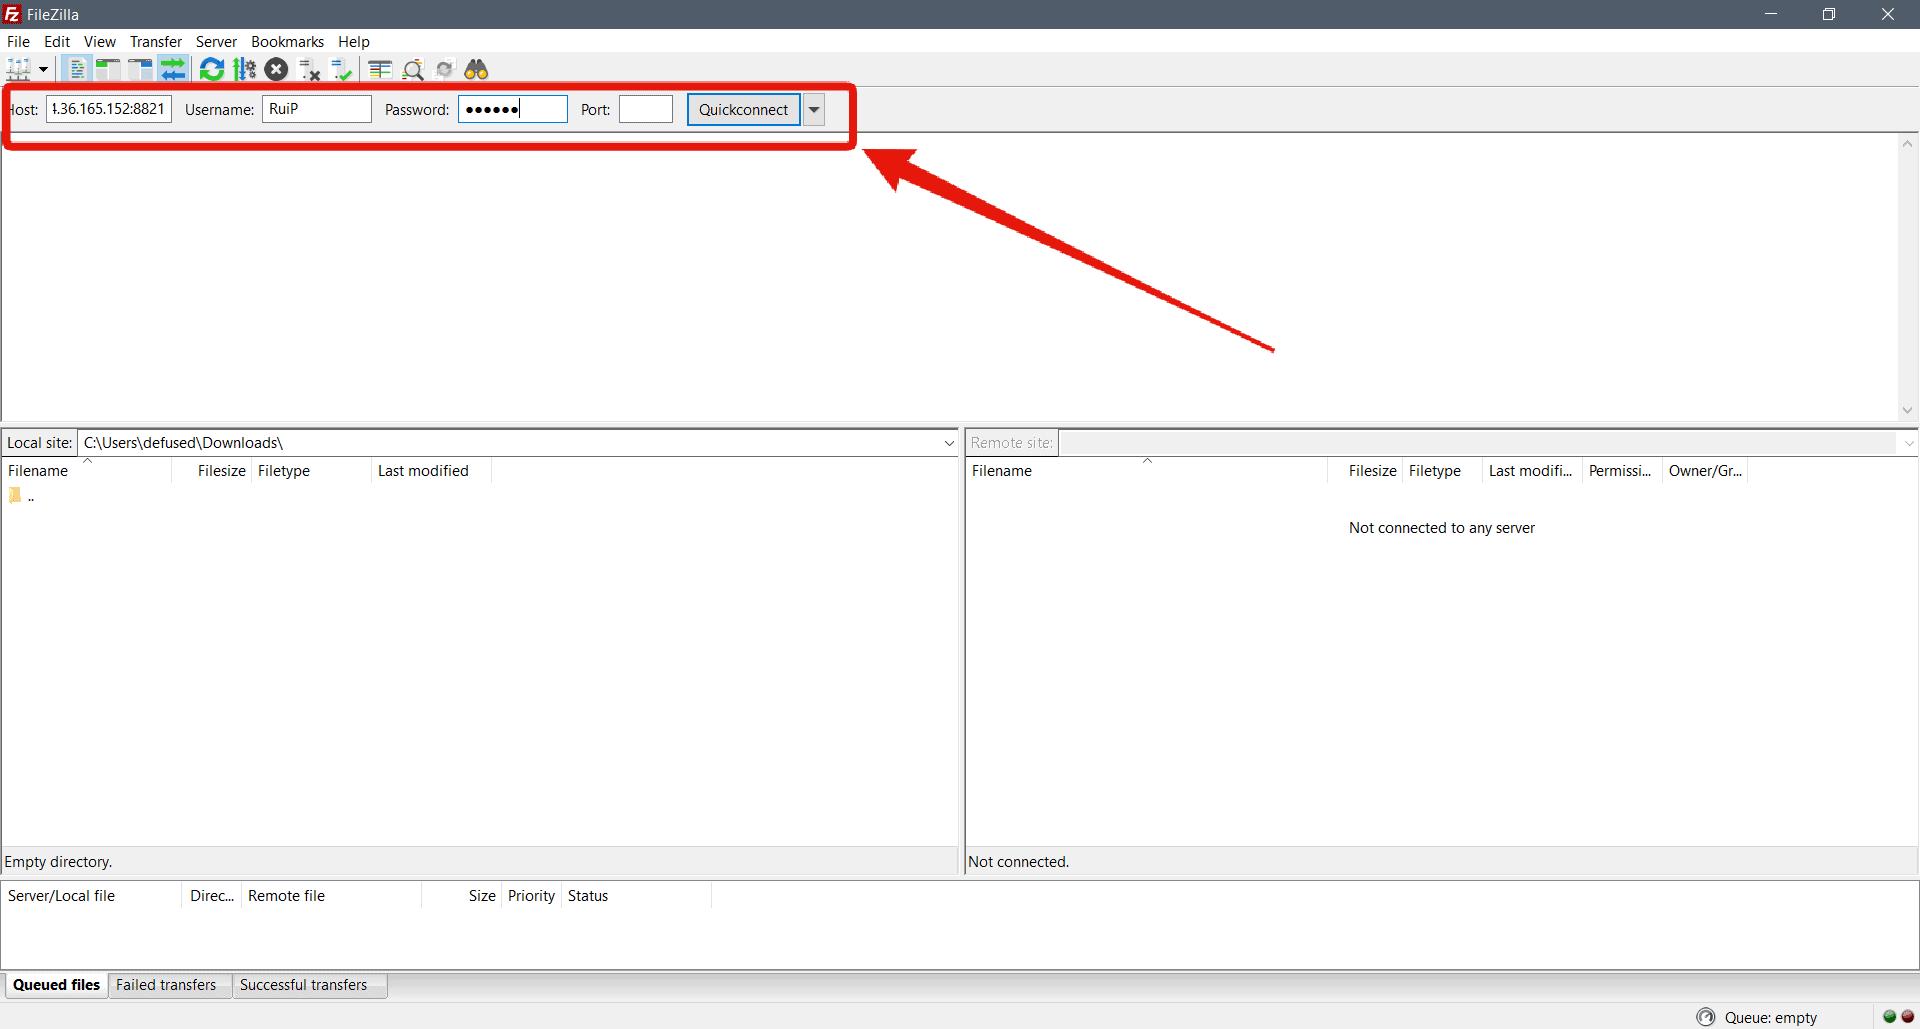
- Enter your server's FTP credentials (IP, port, username, and password) which can be found in your server control panel. Make sure to connect using SFTP (Secure File Transfer Protocol) as it is more secure.
- Once connected, navigate to the Ark server directory. It's usually under
/ShooterGame/Content/Mods. - Now, on your local system, navigate to the folder where you downloaded the mods using SteamCMD.
- Drag and drop the downloaded mod folders into the
/ShooterGame/Content/Modsdirectory on your server. - Let the upload process finish. Depending on the size of the mod and your internet speed, this could take some time.
3. Enable the Mods on Your Server
After you have uploaded the mods, the next step is to enable them on your server.
- Access your server's control panel.
- Locate the 'GameUserSettings.ini' file, usually found in the
/ShooterGame/Saved/Config/LinuxServer/directory for Linux servers or/ShooterGame/Saved/Config/WindowsServer/for Windows servers. - Open the 'GameUserSettings.ini' file and find the line that starts with
ActiveMods=. - Add the mod IDs to the
ActiveMods=line, separated by commas. For example, if you have two mods with IDs 123456 and 789012, the line should look likeActiveMods=123456,789012. - Save and exit the file.
4. Restart Your Server
The final step is to restart your server for the changes to take effect. This process varies depending on your hosting provider, but it is typically found in your server's control panel.
- Locate the 'restart' option in your server control panel and click on it.
- Wait for the server to reboot. This may take a few minutes.
Now, your server should be running with the mods you've installed. Enjoy your customized Ark: Survival Evolved gameplay!
Remember, it's important to update your mods regularly to ensure their functionality and compatibility with the game. To update mods, you will need to repeat this process. It's also crucial to have backups of your server before making any changes or installing mods to prevent potential data loss. Happy gaming!

