Terraria Server Hosting Australia
Looking for reliable Terraria server hosting in Australia? GTX Gaming delivers premium Australian-based dedicated servers with instant setup, tModLoader support, automatic backups, and 24/7 expert support. Enjoy low ping for Australian and Oceanic players and host your Terraria multiplayer server in Australia.
Best Terraria Server Hosting Australia
Choose your Terraria dedicated server plan. Upgrade or downgrade anytime.
Recommended
Large
Very Large
Extreme
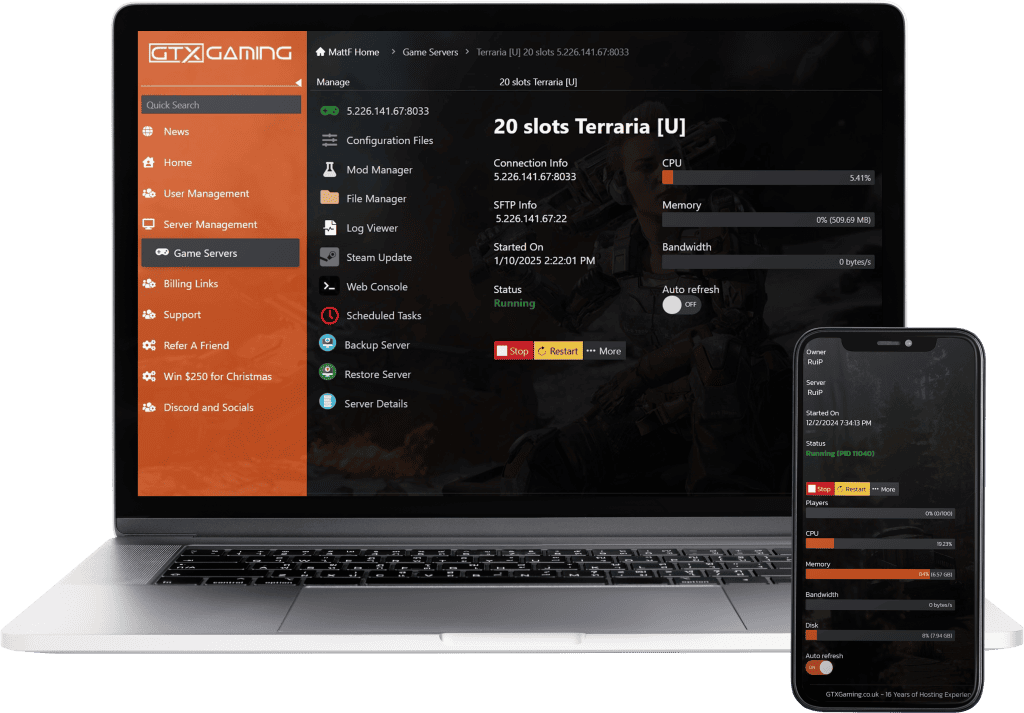
Australian Terraria Server Hosting Control Panel
Our Terraria server hosting control panel gives you complete control over your server with an intuitive, powerful interface.
Australian Terraria Hosting Features
GTX Gaming's Terraria server hosting includes premium features designed for the best multiplayer experience.
DDoS Protection
Enterprise-level protection keeps your server online against attacks up to 1Tbps+.
Instant Setup
Your Terraria game server is ready within seconds of payment. Start playing immediately.
Automatic Backups
Schedule backups and restore your world anytime from our control panel.
High-Performance Hardware
5.7GHz CPUs, DDR5 RAM, NVMe SSDs for maximum server performance.
World Upload & Migration
Easily transfer your existing Terraria world from another hosting provider or your own PC.
11 Global Locations
Terraria multiplayer servers in UK, EU, USA, Canada, Australia, Singapore for low latency worldwide.
24/7 Live Support
Expert support available around the clock directly in your control panel.
Easy Upgrades
Upgrade or downgrade your plan anytime. Get credit on downgrades.
AMD Ryzen 9 9950X
Intel Xeon W-2288G
High-speed server RAM
RAID configuration
Enterprise DDoS protection
Australian Terraria Server Locations
Choose from 11 global locations for your Terraria server hosting — test latency to find your best server
Terraria Server Hosting Australia FAQ
Instantly! Your Terraria server is activated immediately after payment. You'll receive login details within seconds and can start playing in under 2 minutes.
Players join easily! Share your server IP address with friends, and they can connect directly through Terraria's multiplayer menu. For modded servers using tModLoader, players will need the same mods installed — our control panel makes mod management simple.
Absolutely! You can upgrade your Terraria dedicated server RAM anytime through the control panel. Changes take effect within minutes. If you downgrade, you receive account credit for the difference. Start with an affordable Terraria server and scale up as your community grows.
We offer a 24-hour money-back guarantee. If you're not satisfied for any reason within the first 24 hours, contact us for a full refund — no questions asked.
We accept PayPal and all major credit/debit cards (Visa, Mastercard, American Express). All payments are processed securely.
Yes! All Terraria game servers include enterprise-level DDoS protection at no extra cost. Our datacenters can mitigate attacks of 1Tbps+ to keep your Terraria multiplayer server online and protected.
We offer 24/7 live chat support directly in your control panel, plus ticket support and a comprehensive knowledge base. Our expert team has years of game server hosting experience and is ready to help with your Terraria server.
Terraria Server Hosting Australia Guide
Everything you need to know about Terraria and dedicated server hosting
What is Terraria?
Terraria is a beloved 2D action-adventure sandbox game developed by Re-Logic. Combining exploration, crafting, building, and combat, Terraria offers a vast procedurally generated world filled with diverse biomes, challenging bosses, and countless items to discover. From the surface forests to the depths of the Underworld, players can explore caverns, fight monsters, and build magnificent structures.
What makes Terraria special is its incredible depth and replayability. With over 5,000 items, 400+ enemies, and 20+ bosses, there's always something new to discover. The game features extensive modding support through tModLoader, allowing players to add new content, items, and gameplay mechanics. Originally released in 2011, Terraria continues to receive updates and remains one of the best-selling games of all time. Learn more at the official Terraria website.
Game Modes
Terraria offers multiple ways to play, all of which are enhanced with Terraria server hosting for the best multiplayer experience:
- Classic Mode: The standard Terraria experience with balanced difficulty, perfect for first-time players exploring the game's vast content.
- Expert Mode: Increased difficulty with smarter enemies, exclusive drops, and enhanced boss mechanics for experienced players.
- Master Mode: The ultimate challenge with even tougher enemies, exclusive pets and mounts, and the most demanding boss fights.
- Journey Mode: A creative-focused experience with item duplication, god mode, and customizable difficulty settings.
Key Features
- Procedural World Generation: Each world is uniquely generated with diverse surface and underground biomes, structures, and ore deposits.
- Epic Boss Battles: Face over 20 challenging bosses from the Eye of Cthulhu to the Moon Lord, each with unique mechanics and rewards.
- Extensive Crafting System: Combine thousands of materials to create weapons, armor, tools, furniture, and magical items.
- tModLoader Support: Add massive mods like Calamity, Thorium, and thousands more to expand your gameplay experience.
- Seamless Multiplayer: Play with friends cooperatively or enable PvP for competitive battles in your shared world.