



 DayZ
DayZ Palworld


 Enshrouded








I want my own 7 Days to Die server
Hosted from the game, on your PC or rented, and the first settings to change.
Start with the basics
Popular game servers
Your panels
7 Days to Die knowledge hub
Everything you need to run a 7 Days to Die V3 server that holds up on horde night: dedicated or hosted from the game, your own PC or rented, serverconfig.xml and sandbox presets, crossplay for PS5 and Xbox, mods, admin, backups and RAM. Written by the team that hosts them.
No guides match your search. Try a shorter word, or browse a topic above.
Not sure where to begin? Choose the one that sounds like you.
Hosted from the game, on your PC or rented, and the first settings to change.
Start with the basicsSandbox presets, crossplay for console friends, mods and admins.
Settings and mod guidesRAM and CPU for horde night, restarts and backups, and what to check first.
Performance guidesRanked by visits from Google Search, July to October 2026.
Prefer to read it in order? 15 short chapters, about 20 minutes in all, from your first world to a server that survives every Blood Moon.
Start readingServer details, files, SFTP, logs, stats
7 guides
Good to knowThe first start of a new world can take up to an hour: wait for GameServer.LogOn successful in the Web Console before anyone joins.
Pregen worlds, your own save, seeds
3 guides
Good to knowGame Name, World Gen Seed and World Gen Size must match an uploaded save exactly, or the server generates a new world instead.
Sandbox presets, crossplay, game version
3 guides
Good to knowSince V3.0, difficulty, XP, loot and Blood Moon settings come from one SandboxCode; the old serverconfig.xml lines for them do nothing.
Admins, bans, commands, sub-users
6 guides
Good to knowLower numbers mean more power: permission level 0 is the super admin and can run every command.
Modlets, overhauls, Darkness Falls
3 guides
Good to knowPS5 and Xbox players cannot join a dedicated server that runs mods, so keep a crossplay server vanilla.
Backups, restarts, Discord, reinstall
8 guides
Good to knowBackups are kept for up to six months, and the Backup and Restart with Messages task warns players at 10, 5, 2 and 1 minute.
Slots, memory, CPU, hardware
4 guides
Good to knowAn 8 to 16 slot vanilla server on a 6 km world runs on the included RAM; overhauls and 10 km worlds do better with 16 GB or more.
Navezgane, quests, secrets
3 guides
Good to knowThese guides are about the game itself; we check them against the current version, but the game has the last word after a patch.
The complete guide
serverconfig.xml; since V3.0 the difficulty, loot and Blood Moon settings come from a sandbox preset (the settings that matter).GameServer.LogOn successful (panel setup).7 Days to Die gives you two ways to share a world. Hosting from the game means one player starts a multiplayer game and friends join that player. It costs nothing, but the world only exists while the host is playing, and the host's PC runs the game and the world at the same time.
A dedicated server is a separate program from The Fun Pimps that runs the world without a game client. Nobody has to keep the game open, crops keep growing, land claims hold, and friends in other time zones can log in whenever they like. A rented server is that same dedicated server, run for you in a datacentre with a control panel on top.
7 Days to Die left early access with version 1.0 on 25 July 2024. The Fun Pimps have since shipped numbered updates: 2.0 Storm's Brewing (June 2025) brought crossplay to dedicated servers, and V3.0 Dead Hot Summer went stable on 29 June 2026. At the time of writing the current stable version is V3.3.0 (5 October 2026). These are the changes that matter if you run a server, taken from the V3.0 release notes and the Steam patch notes:
GameDifficulty, XPMultiplier, DayNightLength, BloodMoonFrequency, BloodMoonEnemyCount and LootAbundance, were removed from serverconfig.xml. Their job is now done by one SandboxCode property, so an old config or an Alpha 21 guide that sets them changes nothing on V3.SandboxCode value in the new serverconfig.xml.Localization.txt to Localization.csv and moved the web dashboard into the game code, so many older mods fail to load (mods).On our 7 Days to Die server hosting you choose the game version in the panel's Mod Manager, so you can move to a new release when your mods are ready, or stay on an older build.
The dedicated server is free, so running your own is a good way to learn. The outline:
serverconfig.xml: server name, password, world, player limit and, since V3.0, a SandboxCode for the gameplay settings. Keep a copy of your edited file, because an update can bring a new serverconfig.xml (V3.0 did).Mind the hardware. The Fun Pimps' own Steam requirements ask for 8 GB of RAM for the game (12 GB recommended) and note that running a dedicated server and the game on the same computer doubles the RAM requirement. Horde night is the real test: dozens of zombies pathfinding through a destructible world at once.
Free software, full control and a good way to learn. But the world is only online while the machine is on, you install, update and back up by hand, your home address is shared with everyone who joins, and if you play on the same PC the server and your game fight over CPU and RAM on horde night.
Online 24/7 without your PC, a datacentre address with DDoS protection, high-frequency CPUs for the server alone, a version switch, scheduled backups and restarts in the panel, and support when something breaks. It costs a monthly fee, with no setup fee and no contract.
Our view after hosting game servers since 2008: if a few friends play together and you have a spare PC, start at home. Rent one when the world must stay up while you sleep, when console friends join, or when the group and the mod list grow. An 8 to 16 slot vanilla server on a 6 km world runs comfortably on the RAM included with every GTX plan; see our 7 Days to Die server plans for current prices.
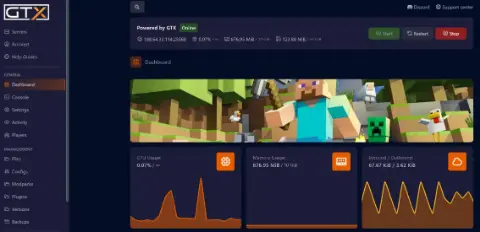
7 Days to Die servers on GTX run in our game panel and are set up as soon as you order. This is the order we tell new customers to work in:
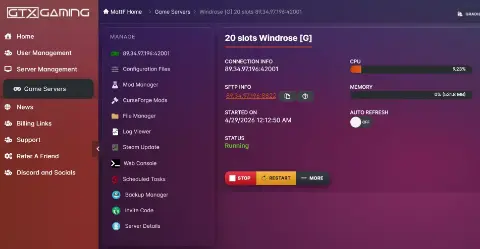
serverconfig.xml with the Config Editor: server name and password, the world under Map Settings, and a preset under Sandbox Settings. Press Save & Exit.GameServer.LogOn successful, the server is online.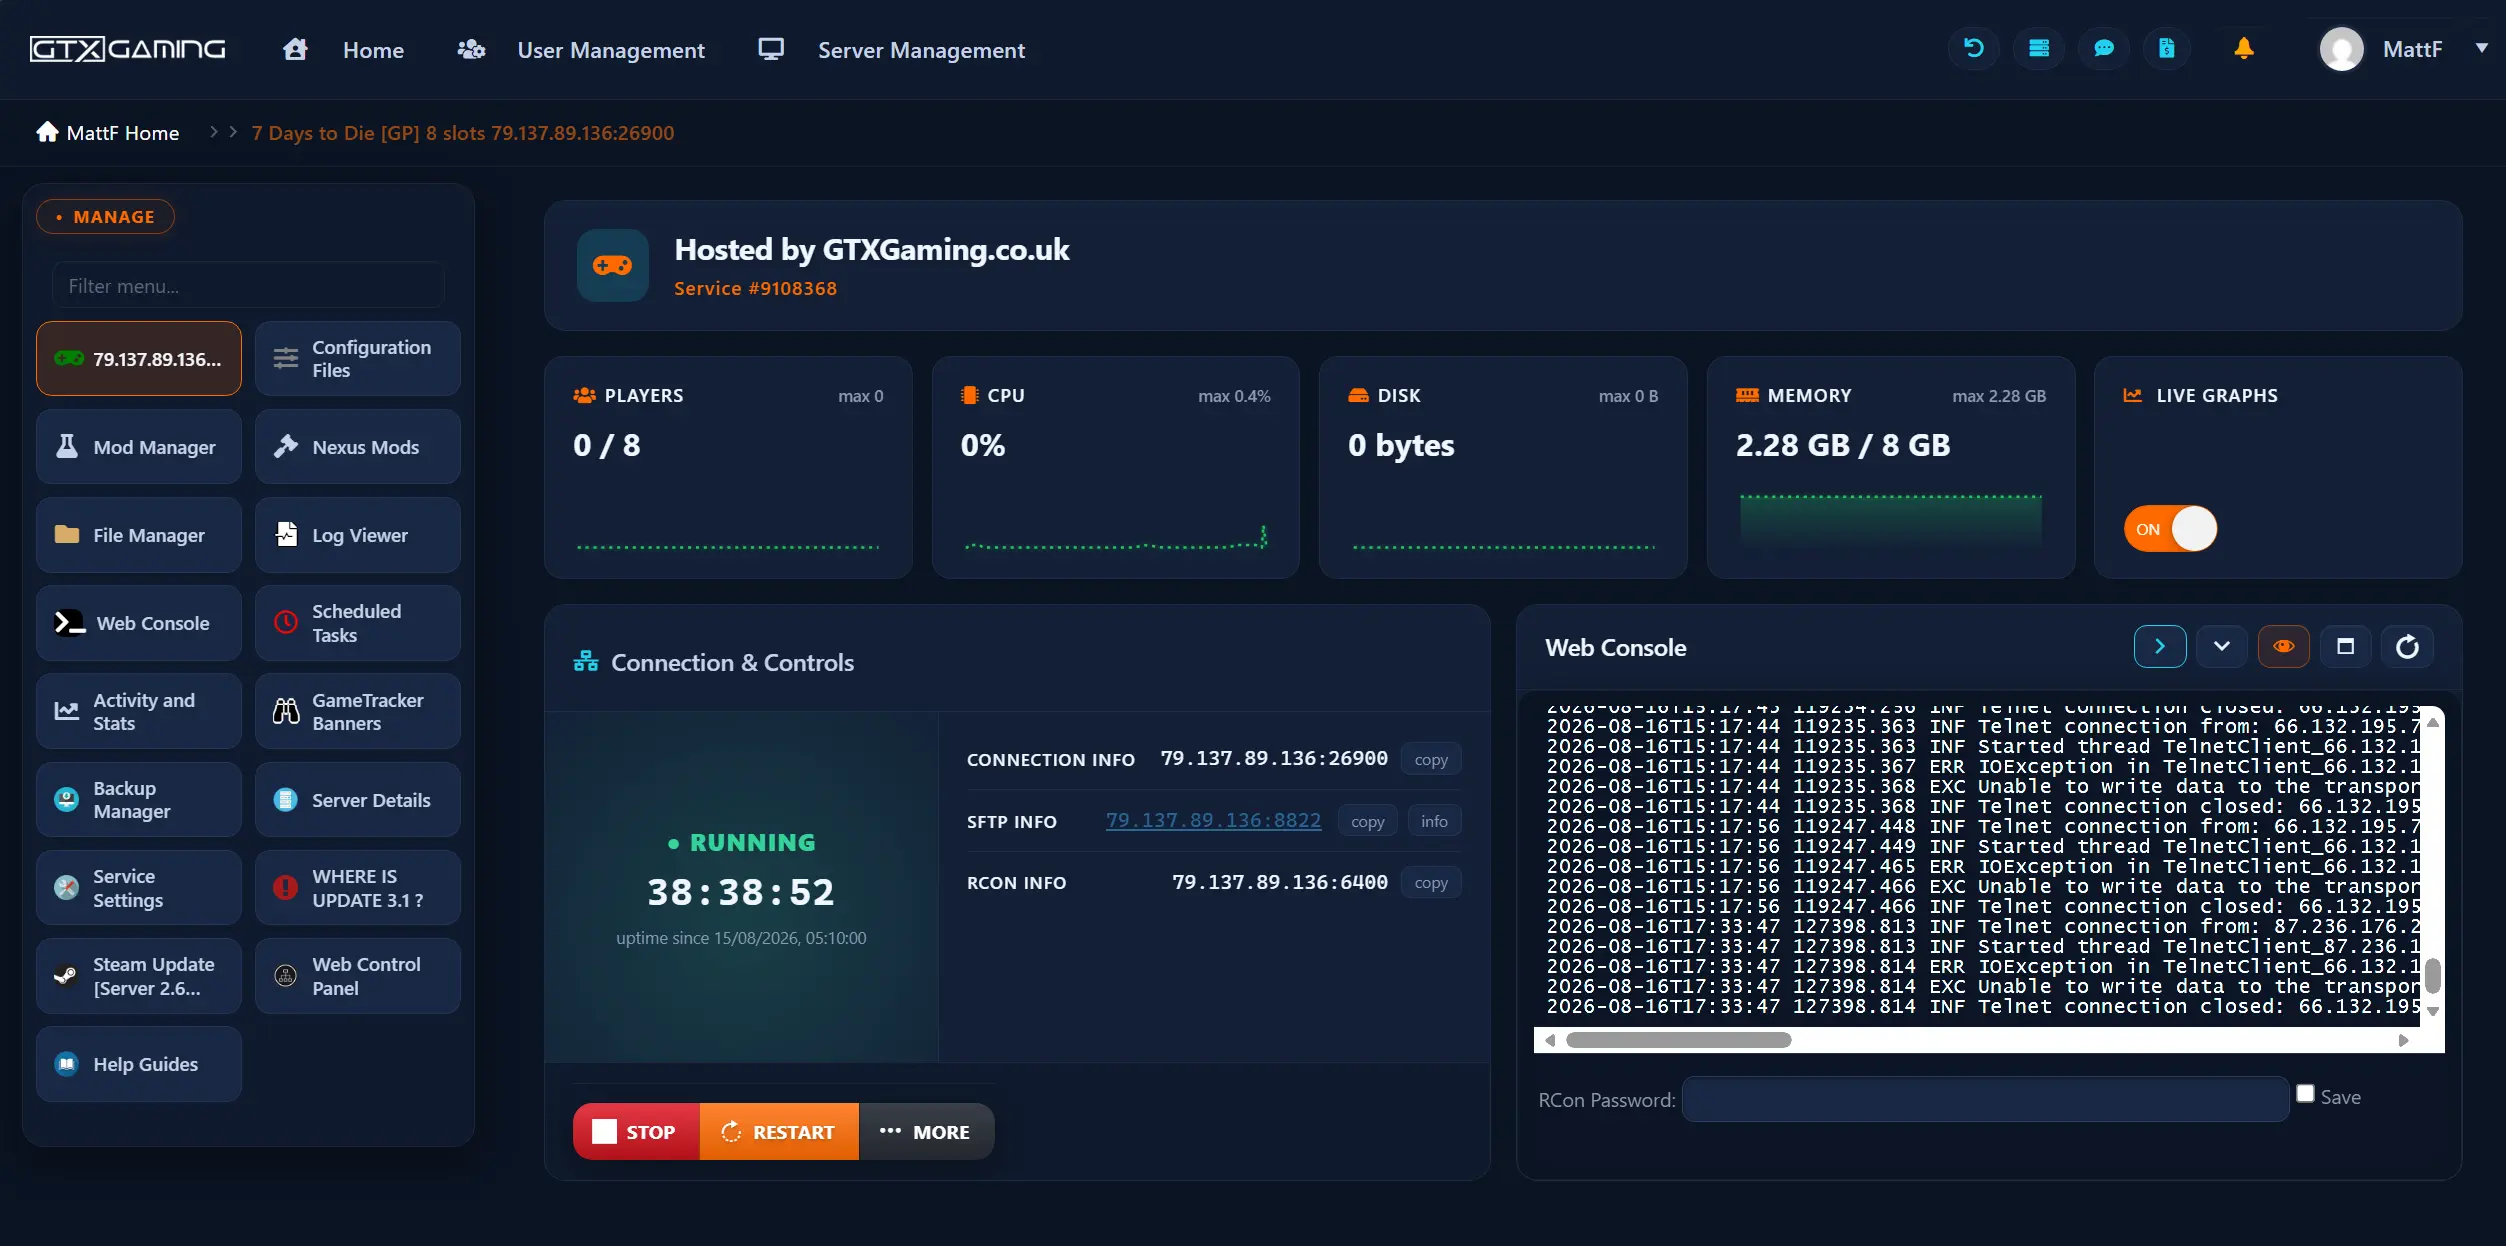
Two files run a 7 Days to Die dedicated server. serverconfig.xml holds the settings, and serveradmin.xml in the save folder lists your admins, bans, whitelist and command permissions (admins). Since V3.0 the gameplay settings no longer sit in serverconfig.xml one by one: they come from a sandbox preset or a custom SandboxCode.
Where each setting lives on V3:
ServerName, ServerDescription and ServerPassword, which decide how the server shows in the browser and who can get in.ServerVisibility. 2 lists the server publicly, 0 keeps it out of the browser and friends join by IP.ServerMaxPlayerCount, 8 at most if console players join (crossplay).GameWorld, WorldGenSeed, WorldGenSize and GameName, for Navezgane, a random world (RWG) or a pregen world (worlds).SandboxCode, moved out of separate serverconfig.xml lines in V3.0.serveradmin.xml, where permission level 0 is the highest.Sandbox presets. The default preset is Adventurer, the same as the old default difficulty. Next to the classic difficulty presets, V3.0 added official presets such as Undead Matinee, Madmole's Mayhem, Legacy Survival, Bite Club and 7 Days Later. In the GTX panel you pick one from the Sandbox Preset dropdown under Sandbox Settings in the Config Editor. For your own mix, build the settings in the game's Sandbox Options menu, copy the code it shows and paste it as a Custom Code. Paste the whole code exactly; to change it, build a new one in the game.
setgamepref BedrollDeadZoneSize 30, and since V3.0 the console command getsandboxoptions (short gso) lists the settings your world is running.Crossplay on dedicated servers arrived with 2.0 Storm's Brewing. PC players can join a server whatever its settings; console players only see servers whose settings are compatible with consoles in their region. The Fun Pimps' crossplay server requirements list four values in serverconfig.xml:
| Setting | Value |
|---|---|
ServerMaxPlayerCount | 8 or lower |
ServerAllowCrossplay | True |
EACEnabled | True |
IgnoreEOSSanctions | False |
The same page, written for 2.x in June 2025, also gives allowed ranges for XP, block damage, Blood Moon enemy counts, air drops and loot. In V3.0 those values moved into the sandbox system and we have not seen an updated list from The Fun Pimps, so if console friends cannot find your server after you change the sandbox settings, go back to an official preset and test again. The server log reports settings that are not compatible with consoles when crossplay is on.
On GTX you set the four values in the Config Editor with the server stopped. To make a console player an admin you need their EOS ID: open the Web Console, ask them to join and copy the number shown after EOS_.
A 7 Days to Die server runs one of three kinds of world, chosen with GameWorld in serverconfig.xml (Game World under Map Settings in the GTX Config Editor):
WorldGenSeed and WorldGenSize. The same seed and size on the same game version give the same map, but the generator changed in V3.0, so a seed list from Alpha 21 no longer shows you the map you will get.Data/Worlds.Bigger worlds take longer to generate and need more RAM. As a starting point we size our plans for 6 km worlds on Basic, 8 km on Recommended and 10 km on Ultra.
Moving your own world to the server. On Windows a save sits in C:\Users\<USERNAME>\AppData\Roaming\7DaysToDie\Saves\<NAMEOFWORLD> and a random world's map in ...\7DaysToDie\GeneratedWorlds\<NAMEOFWORLD>. Zip each folder, upload it to \Saved\Saves\ and \Saved\GeneratedWorlds\ on the server, extract it, then set the Game Name, World Gen Seed and World Gen Size to match the save exactly. If one is different, the server makes a new world instead of loading yours.
Adding an admin. Stop the server, open serveradmin.xml with the Config Editor under Configuration Files, choose the player's platform and enter their Steam64ID (Steam) or EOS ID (Epic or Xbox) and name, then start the server. Lower numbers mean more power: level 0 is the super admin and can run every command, and an admin can only run commands set to their own level or higher. The permissions come pre-configured, so only change the command levels if you need to.
Running commands without joining. In the panel, open Server Details, choose Web Control Panel and press Execute to get its password, then log in to the Web Control Panel. Its console takes the same commands as the in-game console (F1 on PC). Type help for the full list, or help ban for one command.
The moderation commands you will use most:
lpi lists every player and their ID. Use it first.kick <id> [reason] kicks a player from the game.ban add <id> <duration> <unit> [reason] bans a player for minutes up to years, for example ban add 171 10 hours griefing.ban remove <id> lifts a ban, and ban list shows every ban with its duration and reason.Need a co-admin who can restart the server or edit files? Give them a sub-user in the panel instead of your own login. For the cheat side of the console (god mode, teleport, giving items), see the 7 Days to Die cheat commands guide.
Modding has kept 7 Days to Die alive for over a decade, but there is no Steam Workshop for it: mods live in the server's Mods folder. Upload a mod's folder there with the File Manager or SFTP, restart, and read the log for errors before you add the next one.
Our guide to 7 Days to Die mods on V3 explains what V3.0 broke for mods and which kinds of mod can run with Easy Anti-Cheat on.
A 7 Days to Die world is weeks of building, so protect it before you need to. On GTX:
Updates. The Fun Pimps put each update on the experimental branch first and then release it as stable. On GTX you change version in the Mod Manager: stop the server, uninstall the installed version, install the one you want, check serverconfig.xml (settings differ between versions) and start it. If you run mods, check they support the new version first.
7 Days to Die looks light until horde night: dozens of zombies pathfinding through a fully destructible world is a heavy single-thread load, and big random worlds with long-lived bases push RAM and disk. Our plan presets are a starting point:
As a rule of thumb, an 8 to 16 slot vanilla server on a 6 km world is comfortable on the included RAM; a modded server or an 8 km world should take a RAM upgrade; and a 10 km world running an overhaul benefits from 16 GB or more plus a CPU priority upgrade. Remember that a crossplay server is capped at 8 players whatever slot count you pick.
The problems our support team sees most, and what to check first:
GameServer.LogOn successful; you can ignore [GSM] GameSparks Connected messages meanwhile.Data/Worlds.SandboxCode, not from separate serverconfig.xml lines (settings).Still stuck? Our support team runs these servers every day and is on live chat and tickets 24/7.
Once the world is running, these guides help your group play it: the Navezgane map, sharing quests with friends and the secrets the developers hid in the game. We check them against the current version, but the game itself always has the last word after a patch. They are in one list: browse the play guides.
Install The Fun Pimps' free dedicated server through Steam, edit serverconfig.xml (server name, password, world, player limit and, since V3.0, a SandboxCode for the gameplay settings), open its ports on your router and start it. Or rent one: on GTX the server is set up as soon as you order and you change the same settings in the Config Editor of the game panel.
Yes, since the 2.0 Storm's Brewing update, if the server follows The Fun Pimps' crossplay rules: ServerMaxPlayerCount 8 or lower, ServerAllowCrossplay True, EACEnabled True and IgnoreEOSSanctions False, and no mods. PC players can join whatever the settings.
A crossplay server is capped at 8 players. A PC-only server can take more: our plans run from 8 to 100 slots, and bigger groups need more RAM, above all on horde night.
Into the sandbox system. V3.0 removed 30 legacy properties from serverconfig.xml, including GameDifficulty, XPMultiplier, DayNightLength, BloodMoonFrequency, BloodMoonEnemyCount and LootAbundance. Pick a sandbox preset, or build your settings in the game's Sandbox Options menu and paste the code it shows into SandboxCode.
Add your Steam64ID (Steam) or EOS ID (Epic or Xbox) to serveradmin.xml with permission level 0, the highest, then start the server. On GTX you do it in the Config Editor, and a player's EOS ID appears in the Web Console when they join.
Yes, on PC. Mods go in the server's Mods folder, overhauls such as Darkness Falls must also be installed by every player, and every mod must be built for the game version your server runs. Console players cannot join a dedicated server with mods.
On our servers the first start of a new world can take up to an hour, and bigger worlds take longer. Don't stop the server while it generates, or the map is corrupted and has to start again. The Web Console shows GameServer.LogOn successful when it is ready.
Yes. Zip the world's folder from AppData\Roaming\7DaysToDie\Saves (and from GeneratedWorlds for a random world), upload and extract it on the server, then set Game Name, World Gen Seed and World Gen Size in serverconfig.xml to match exactly, on the same game version.